
Gaming
SFM Compile Guide: Master Source Filmmaker Builds

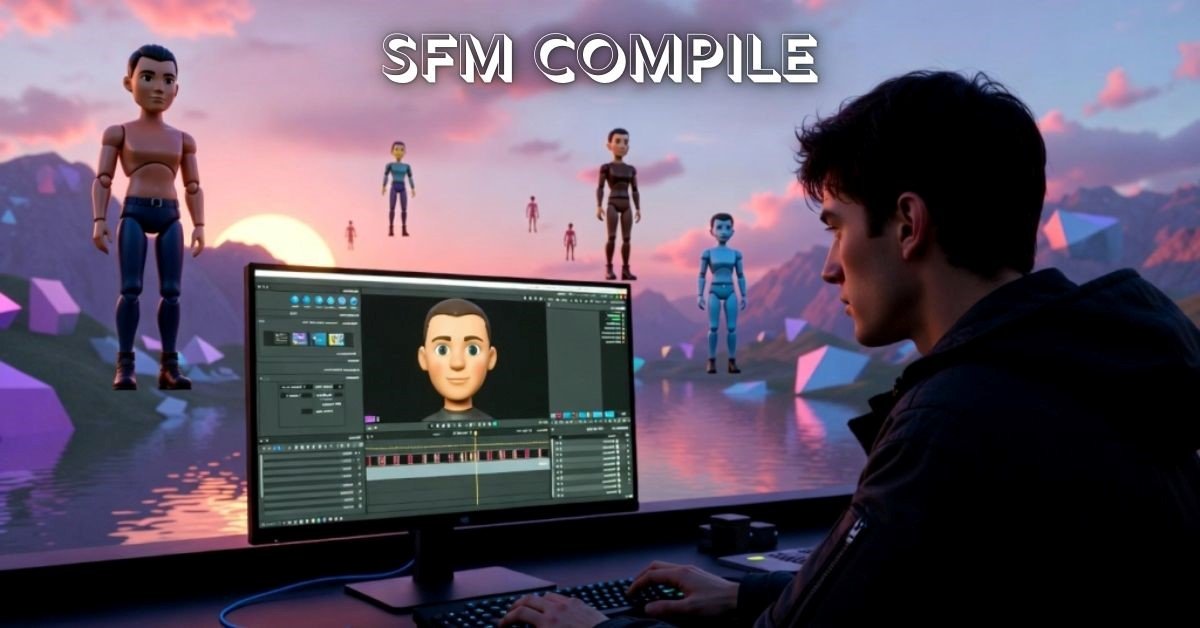
Getting started with sfm compile can feel like stepping into a complex workshop filled with unfamiliar tools, strange terminology, and a lot of trial-and-error moments. If you’ve ever tried bringing your custom assets into Source Filmmaker and hit a wall during compilation, you’re definitely not alone. This process is where creativity meets technical precision, and understanding it can transform your projects from broken imports to polished cinematic results. Whether you’re working on models, maps, or animations, learning how compilation works behind the scenes is essential. Once you grasp the workflow, everything begins to click, and your efficiency improves dramatically.
Understanding What SFM Compile Actually Means
When people talk about sfm compile, they’re referring to the process of converting raw assets—like models, textures, and maps—into formats that Source Filmmaker can actually read and use. Think of it like translating a language; your 3D modeling software speaks one dialect, while SFM understands another, and the compile process acts as the interpreter. Without this conversion, your work simply won’t show up correctly in the program, no matter how well-designed it is.
The compile process involves multiple tools working together, including model compilers, texture converters, and sometimes map-building utilities. These tools take your raw files, process them through scripts or configuration files, and output optimized game-ready versions. This is where you define things like materials, lighting behavior, and collision properties. It’s not just about making something visible—it’s about making it behave correctly in the engine.
Another important aspect is optimization. During compilation, unnecessary data is stripped away, and performance-friendly formats are created. This ensures your scene doesn’t lag or crash during rendering. For creators aiming for cinematic quality, this step is crucial because poorly compiled assets can lead to visual glitches or performance issues that ruin the final output.
Understanding this concept early on saves countless hours of frustration. Instead of guessing why something isn’t working, you begin to see the logic behind each step. Once that happens, the entire pipeline becomes less intimidating and far more manageable.
Read More: SFMCompile Mastery: Your Full Guide to Source Filmmaker
Key Tools Required for SFM Compilation Workflow
To successfully perform sfm compile, you need a set of essential tools that act as the backbone of your workflow. These tools are not optional—they are the bridge between your creative software and Source Filmmaker. The most commonly used tools include Crowbar for model compiling, VTFEdit for texture conversion, and Hammer Editor for maps. Each of these plays a distinct role in the pipeline.
Crowbar, for example, is widely used for compiling and decompiling models. It takes your SMD or DMX files and converts them into MDL format, which SFM understands. Without this step, your models remain unusable. VTFEdit, on the other hand, handles texture files, converting standard image formats into VTF, which is required by the Source engine. These textures are then linked to materials through VMT files.
The Hammer Editor comes into play when you’re working with environments or maps. It allows you to compile entire levels using BSP compilation tools. This is especially useful for creators building custom scenes rather than relying on existing maps. Each of these tools may seem complex at first, but once you understand their purpose, they become much easier to manage.
What makes these tools powerful is how they integrate into a single pipeline. You’re not just using them individually—you’re creating a workflow where each step feeds into the next. Mastering this toolkit is like learning how to use a professional editing suite; it takes time, but the results are worth it.
Step-by-Step Breakdown of the Compile Process
The sfm compile process can be broken down into a series of logical steps that guide your assets from creation to final use. It all starts with preparing your files. This means ensuring your models are properly rigged, your textures are correctly formatted, and your file structure is organized. Skipping this preparation often leads to errors later in the process.
Next comes the scripting phase. Here, you define how your assets behave using QC files for models or VMF files for maps. These scripts act like instruction manuals for the compiler, telling it how to process each element. For example, a QC file might specify animation sequences, material paths, and physics properties. This step requires attention to detail, as even a small typo can cause the compile to fail.
Once everything is set up, you run the compiler tools. This is where your files are processed and converted into SFM-compatible formats. Depending on the complexity of your project, this step can take anywhere from a few seconds to several minutes. After compilation, you test your assets in Source Filmmaker to ensure everything works as expected.
The final step involves troubleshooting and refinement. Rarely does everything work perfectly on the first try. You may need to adjust scripts, fix textures, or recompile models. This iterative process is a normal part of development and helps you refine your skills over time.
Common Errors and How to Fix Them Quickly
Errors are an inevitable part of working with sfm compile, but the good news is that most of them are predictable and fixable. One of the most common issues is missing textures, which usually occurs when file paths are incorrect. This can be solved by double-checking your material directories and ensuring your VMT files point to the correct VTF files.
Another frequent problem is model compilation failure. This often happens due to incorrect QC scripting or missing reference files. When this occurs, the compiler usually provides an error log. Reading and understanding these logs is a skill in itself, but it’s incredibly valuable. They often point directly to the issue, saving you hours of guesswork.
Animation errors are also common, especially when dealing with complex rigs. These can result in distorted models or broken sequences. Ensuring your animations are properly exported and referenced in the QC file can prevent these issues. It’s also important to use consistent naming conventions to avoid confusion.
Performance issues can arise if your assets are not optimized during compilation. High-polygon models or uncompressed textures can slow down SFM significantly. Reducing complexity and optimizing assets before compiling can make a huge difference. Once you learn to identify these common problems, fixing them becomes second nature.
Best Practices for Smooth SFM Compilation
Achieving a smooth sfm compile workflow requires more than just knowing the steps—it’s about adopting best practices that minimize errors and maximize efficiency. One of the most important habits is maintaining a clean and organized file structure. Keeping your models, textures, and scripts in clearly labeled folders makes it easier to manage your project and avoid missing file errors.
Another key practice is version control. Saving multiple versions of your files allows you to revert to a working state if something goes wrong. This is especially useful when experimenting with new techniques or making major changes. It’s like having a safety net that protects your progress.
Consistency is also crucial. Using standardized naming conventions for files and assets helps prevent confusion and errors during compilation. For example, naming your textures and materials in a logical way ensures they are easy to locate and reference. This might seem like a small detail, but it can have a big impact on your workflow.
Testing frequently is another essential habit. Instead of waiting until everything is complete, test your assets at each stage of the process. This allows you to catch errors early and fix them before they become bigger problems. Over time, these practices become second nature and significantly improve your efficiency.
Advanced Techniques to Improve Output Quality
Once you’ve mastered the basics of sfm compile, you can start exploring advanced techniques to enhance the quality of your work. One such technique is using custom shaders to create more realistic materials. By tweaking VMT files, you can control how light interacts with surfaces, adding depth and realism to your scenes.
Another advanced method involves optimizing lighting during map compilation. Adjusting lightmaps and using proper lighting techniques can dramatically improve the visual quality of your scenes. This is particularly important for cinematic projects where lighting plays a key role in storytelling.
Level of Detail (LOD) models are another powerful tool. By creating multiple versions of a model with varying levels of detail, you can improve performance without sacrificing quality. The compiler automatically switches between these versions based on distance, ensuring smooth performance even in complex scenes.
You can also experiment with animation blending and advanced rigging techniques. These allow for more dynamic and realistic character movements. While these techniques require additional effort, they can elevate your projects to a professional level. The more you experiment, the more you discover what’s possible.
Why SFM Compile Skills Matter for Creators
Developing strong sfm compile skills is not just about technical proficiency—it’s about unlocking creative potential. When you understand how to compile assets effectively, you gain the freedom to create anything you imagine. You’re no longer limited by pre-existing content and can bring your own ideas to life.
These skills also make you more efficient. Instead of struggling with errors and setbacks, you can focus on the creative aspects of your project. This leads to faster workflows and higher-quality results. For content creators, this can mean producing more videos, animations, or projects in less time.
Another benefit is collaboration. When you understand the compile process, you can work more effectively with other creators. You can share assets, troubleshoot issues, and contribute to larger projects. This opens up new opportunities and helps you grow as a creator.
In the long run, these skills can even lead to professional opportunities. Many industries value individuals who understand game engines and asset pipelines. Whether you’re creating content for fun or pursuing a career, mastering this process gives you a significant advantage.
Conclusion
Mastering sfm compile is a journey that combines technical knowledge with creative exploration. While it may seem challenging at first, each step you learn brings you closer to complete control over your projects. From understanding the basics to applying advanced techniques, every aspect of the process contributes to better results.
The key is persistence. Mistakes are part of the learning process, and each one teaches you something valuable. Over time, what once felt complicated becomes second nature. You begin to see patterns, anticipate issues, and solve problems more efficiently.
By investing time in learning this skill, you’re not just improving your workflow—you’re expanding your creative possibilities. You gain the ability to create unique, high-quality content that stands out. And that’s what makes the effort worthwhile.
Read More: HITTING THE ROAD WITH LDAS TRUCKER BLUETOOTH HEADSET GEFORCE1: A COMPREHENSIVE REVIEW


How DMCA Ignored Hosting Help Adult Content Sites?

Other Alternatives to the Bigbunny Login Casino
Web UI Design Services, Custom Web App Development, or Local Product Design: Where to Start

Type-C to C vs Type A to Type C Cable: What’s the Difference?

How Executive Search Software Selects and Manages Senior Leadership Candidates

Data Science Course in Pune with Placement Support: From Classroom Training to Your First Job

Ethical Hacking Courses in Mumbai with Placement: Institutes, Duration, Fees & Jobs 2026

Best Micro Influencer Agency Singapore: Why Micro Beats Macro for Conversion

What Makes a Crypto Exchange Top-Rated? Understanding the Ranking Criteria
Why These Data Science Institutes in Delhi Are Preferred by Top Tech Recruiters?
Data Science Course in Pune with Placement Support: From Classroom Training to Your First Job
Ethical Hacking Courses in Mumbai with Placement: Institutes, Duration, Fees & Jobs 2026
Best Micro Influencer Agency Singapore: Why Micro Beats Macro for Conversion
Web UI Design Services, Custom Web App Development, or Local Product Design: Where to Start
How Executive Search Software Selects and Manages Senior Leadership Candidates
Other Alternatives to the Bigbunny Login Casino
Type-C to C vs Type A to Type C Cable: What’s the Difference?
How DMCA Ignored Hosting Help Adult Content Sites?


 Tech2 years ago
How to Use a Temporary Number for WhatsApp
- Business3 years ago
Sepatuindonesia.com | Best Online Store in Indonesia
- Social Media2 years ago
The Best Methods to Download TikTok Videos Using SnapTik
- Technology2 years ago
Top High Paying Affiliate Programs
- Tech2 years ago
Understanding thejavasea.me Leaks Aio-TLP: A Comprehensive Guide
- FOOD2 years ago
How to Identify Pure Desi Ghee? Ultimate Guidelines for Purchasing Authentic Ghee Online

 Instagram4 years ago
Free Instagram Auto Follower Without Login
- Instagram4 years ago
Free Instagram Follower Without Login