
Blog
Adobe After Effects Best Tips: Master Motion Graphics Like a Pro

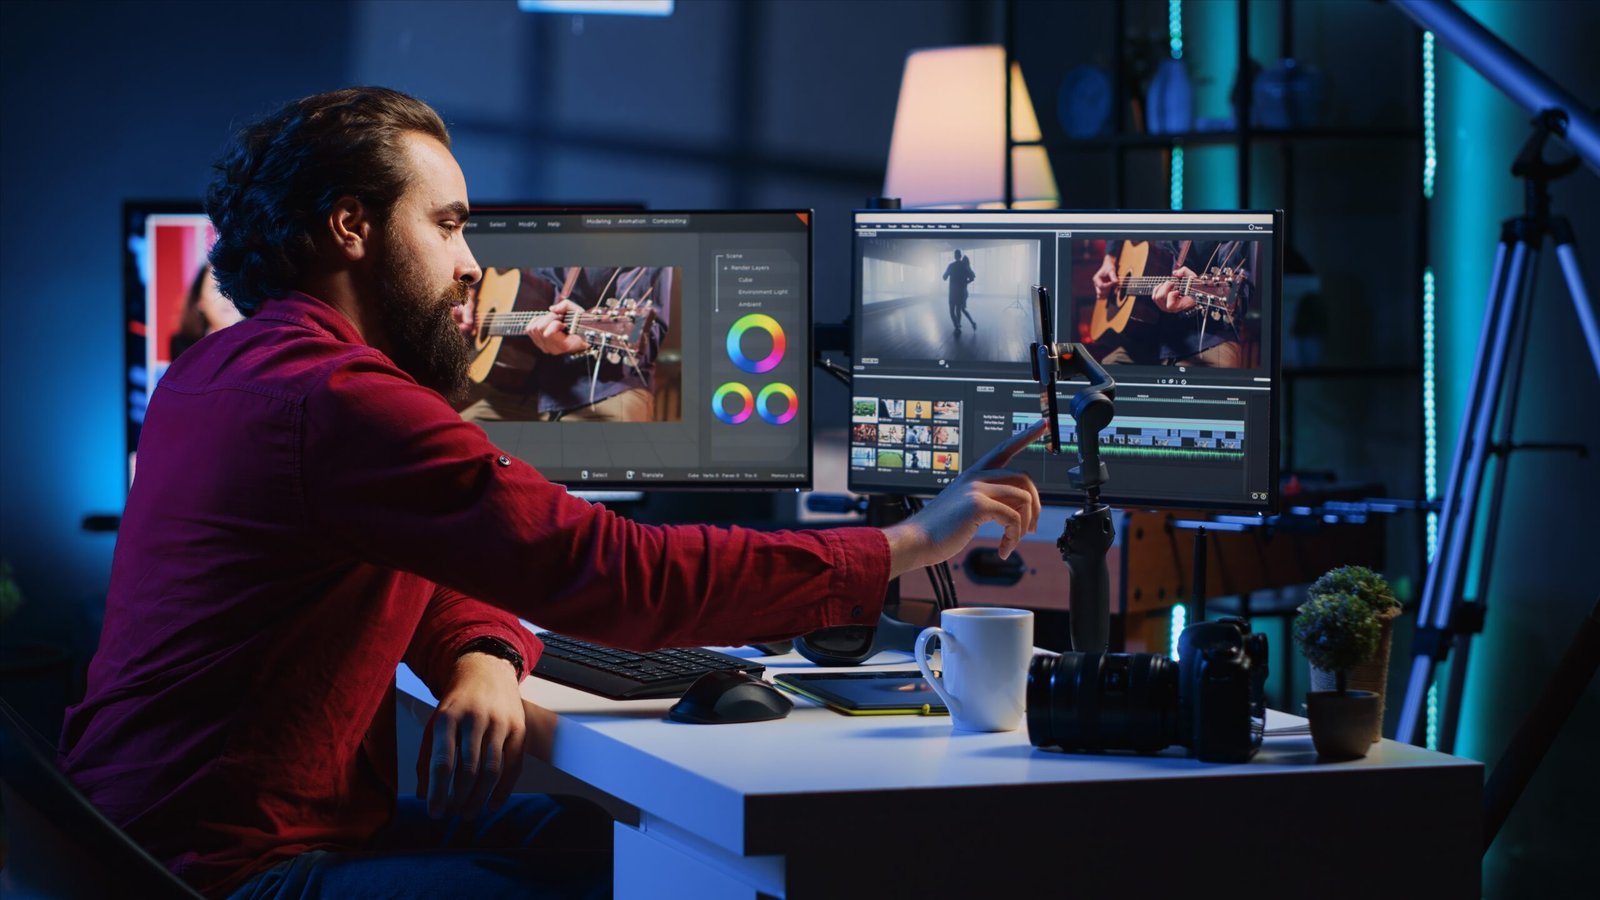
Creating stunning motion graphics doesn’t have to be complicated. Adobe After Effects remains the industry standard for video effects and animation, but many users only scratch the surface of what this powerful software can do. Whether you’re crafting social media content, producing corporate videos, or designing title sequences, these proven techniques will transform your workflow and elevate your projects. For those seeking additional resources, various online platforms offer comprehensive tutorials and advanced techniques to supplement these foundational tips.
Essential Performance Optimization Strategies
Nothing kills creativity faster than a laggy interface and endless render times. After Effects demands significant resources, but smart optimization can make even modest systems perform admirably.
Start by adjusting your memory allocation. Navigate to Preferences > Memory and allocate at least 8GB to After Effects, leaving sufficient RAM for your operating system. This simple adjustment often provides immediate performance improvements. Enable disk cache and set it to a fast SSD with ample free space. The disk cache stores rendered frames, dramatically speeding up playback and reducing repeated calculations.
Work with proxies for high-resolution footage. Creating lower-resolution versions of your source files allows smooth editing while maintaining the ability to render at full quality. Right-click your footage, select Create Proxy, and choose an appropriate resolution. Your timeline will thank you, especially when working with 4K or higher resolution content.
Pre-compose intelligently to simplify complex compositions. Think of pre-composing as creating organized folders for your layers. Group related elements together, apply effects to the pre-comp rather than individual layers, and watch your render times plummet. This technique also makes projects more manageable and easier to modify later. When working with multiple compositions, consider exploring professional motion graphics templates that demonstrate effective pre-comp organization strategies.
Purge your cache regularly to prevent slowdowns. After Effects accumulates temporary files that can bog down performance over time. Use Edit > Purge > All Memory & Disk Cache when you notice sluggish behavior. Consider this digital housekeeping that keeps your workspace clean and efficient.
Advanced Animation Techniques That Save Time
Professional animators rely on specific techniques to create smooth, appealing motion without spending hours tweaking keyframes. Understanding these methods transforms tedious manual work into efficient, repeatable processes.
Master the graph editor for natural movement. Default linear keyframes create robotic motion that screams “amateur.” Select your keyframes, press F9 to apply Easy Ease, then fine-tune the velocity curves in the graph editor. Pull the handles to create gentle acceleration and deceleration. This single technique instantly makes animations feel more professional and polished.
Utilize expressions to automate repetitive tasks. The wiggle expression adds organic randomness to any property. Type wiggle(2,50) to create subtle movement that brings static elements to life. For more control, try the loop expression: loopOut(“cycle”) repeats your animation indefinitely, perfect for background elements or loading animations. Many video editing communities share expression libraries and custom scripts that can accelerate your workflow significantly.
Parent layers strategically to create complex movements efficiently. Instead of animating multiple objects individually, parent child layers to a null object. Animate the null, and all connected elements follow naturally. This approach proves invaluable for character animation, UI elements, and any scenario requiring coordinated movement.
Implement the offset technique for dynamic sequences. Duplicate your animated layer multiple times, then offset each duplicate by a few frames. This creates cascading effects perfect for text reveals, particle systems, or any design requiring sequential movement. Combine with opacity fades for even more sophisticated results.
Take advantage of motion blur for realistic movement. Enable motion blur for both your composition and individual layers. Adjust the shutter angle in Composition Settings to control the blur amount. Higher values create more dramatic streaking, while lower values maintain clarity during fast movements.
Professional Workflow Optimization Tips
Efficiency separates hobbyists from professionals. These workflow enhancements might seem minor individually, but together they save hours on every project.
Organize your project panel meticulously. Create folders for footage, pre-comps, solids, and audio. Color-code similar assets using labels. This organization becomes crucial as projects grow complex. Develop a consistent naming convention: “01_Logo_Intro” beats “Untitled_1” every time.
Learn essential keyboard shortcuts that pros use constantly. Press U to reveal all keyframed properties instantly. Hit E to show all applied effects. Use Page Up and Page Down to jump between keyframes. Memorize Shift+F3 to toggle between effect controls and project panels. These shortcuts eliminate countless mouse movements throughout your day.
Create and save animation presets for frequently used effects. Design a text animation once, then save it as a preset for future use. Build a library of transitions, color grades, and motion templates. This investment pays dividends on every subsequent project.
Use adjustment layers for non-destructive editing. Apply color correction, effects, and treatments to adjustment layers above your footage. This approach maintains flexibility and allows easy toggles between treated and untreated versions. Stack multiple adjustment layers to create complex looks while keeping each effect isolated and editable.
Render using the optimal settings for your delivery platform. Avoid the render queue for final output. Instead, use Adobe Media Encoder for background rendering while you continue working. Choose appropriate codecs: H.264 for web delivery, ProRes for further editing, or image sequences for maximum flexibility. Match your composition frame rate to your final output to prevent unnecessary frame blending.
Set up watch folders for automated workflows. Configure After Effects to monitor specific folders and automatically import new assets. This proves invaluable when working with teams or receiving regular asset updates. Combine with scripts and expressions to create nearly autonomous production pipelines.
Master the essential third-party plugins that expand After Effects capabilities. While native tools are powerful, plugins like Element 3D for 3D objects, Particular for particle systems, and Optical Flares for lens effects open new creative possibilities. Start with free options like Video Copilot’s free presets to understand plugin workflows before investing in premium tools.
Remember that Adobe After Effects thrives on experimentation. These techniques provide a foundation, but the software’s true power emerges when you combine different approaches creatively. Start implementing these tips gradually, focusing on one area at a time. Soon, complex animations that once seemed impossible will become second nature, and your creative vision will flow seamlessly from imagination to screen.

How Instant Money Loan Apps Work: From Application to Disbursal

Single Door Fridge vs Double Door Fridge: Which Is Right for Your Indian Home in 2026?
Understanding AI Agent Architecture: From Automation to Autonomous Intelligence

How DMCA Ignored Hosting Help Adult Content Sites?

Other Alternatives to the Bigbunny Login Casino
Web UI Design Services, Custom Web App Development, or Local Product Design: Where to Start

Type-C to C vs Type A to Type C Cable: What’s the Difference?

How Executive Search Software Selects and Manages Senior Leadership Candidates

Data Science Course in Pune with Placement Support: From Classroom Training to Your First Job

Ethical Hacking Courses in Mumbai with Placement: Institutes, Duration, Fees & Jobs 2026
Web UI Design Services, Custom Web App Development, or Local Product Design: Where to Start
Other Alternatives to the Bigbunny Login Casino
Type-C to C vs Type A to Type C Cable: What’s the Difference?
How DMCA Ignored Hosting Help Adult Content Sites?
Understanding AI Agent Architecture: From Automation to Autonomous Intelligence
Single Door Fridge vs Double Door Fridge: Which Is Right for Your Indian Home in 2026?
How Instant Money Loan Apps Work: From Application to Disbursal


 Tech2 years ago
How to Use a Temporary Number for WhatsApp
- Business3 years ago
Sepatuindonesia.com | Best Online Store in Indonesia
- Social Media2 years ago
The Best Methods to Download TikTok Videos Using SnapTik
- Technology2 years ago
Top High Paying Affiliate Programs
- Tech2 years ago
Understanding thejavasea.me Leaks Aio-TLP: A Comprehensive Guide
- FOOD2 years ago
How to Identify Pure Desi Ghee? Ultimate Guidelines for Purchasing Authentic Ghee Online

 Instagram4 years ago
Free Instagram Auto Follower Without Login
- Instagram4 years ago
Free Instagram Follower Without Login