
Blog
How to Create DIY Cahier Notebooks: A Fun and Simple Guide
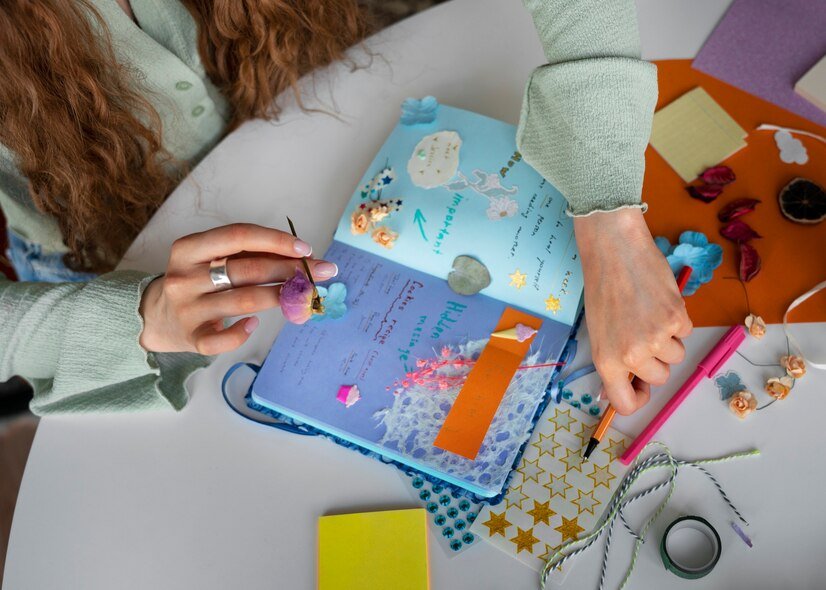
Cahier notebooks are compact, stylish, and versatile—perfect for jotting down notes, sketching, or journaling. While you can buy them from stores, making your own DIY Cahier notebooks is not only cost-effective but also a rewarding creative project. In this guide, we’ll walk you through the process of making these charming notebooks step by step.
What Are Cahier Notebooks?
Cahier notebooks are slim, lightweight booklets typically bound by staples or thread. They often have soft covers, rounded corners, and minimalistic designs. Originating from the French word cahier (meaning “notebook”), these are popular for their portability and simplicity.
Why Make Your Own Cahier Notebooks?
Creating DIY Cahier notebooks allows you to customize the size, paper type, and design to suit your needs. It’s a creative activity, eco-friendly if you reuse materials, and perfect for personal or gift purposes. Plus, it’s surprisingly simple and requires minimal tools.
Materials Needed for DIY Cahier Notebooks
Here’s what you’ll need to get started:
- Paper: Blank, lined, or specialty paper (e.g., watercolor paper) for the inside pages.
- Cardstock or Kraft Paper: For the notebook cover.
- Ruler and Pencil: For measuring and marking.
- Cutting Tools: Scissors or a craft knife.
- Bone Folder or Spoon: To create clean, crisp folds.
- Stapler or Needle and Thread: For binding the notebook.
- Decorative Supplies: Washi tape, stamps, stickers, or markers to personalize the design.
Step-by-Step Guide to Making a DIY Cahier Notebook
Step 1: Decide on the Notebook Size
Determine the dimensions of your notebook. Common sizes include A5 (5.8 x 8.3 inches) or pocket-sized (3.5 x 5.5 inches). Cut your paper and cover material to match the desired size.
Step 2: Fold the Paper and Cover
Take the sheets of paper (around 10-20, depending on thickness) and fold them in half together. Fold the cardstock or kraft paper for the cover separately. Use a bone folder or spoon to press the folds for a clean, professional finish.
Step 3: Assemble the Notebook
Stack the folded paper inside the folded cover. Ensure the edges align neatly. Trim any excess paper with scissors or a craft knife if needed.
Step 4: Bind the Notebook
- Staple Binding: Open the notebook flat, and staple along the center fold (spine) at equal intervals.
- Sewn Binding: Thread a needle with sturdy thread. Starting from the inside, sew through the spine using a simple pamphlet stitch (three holes: top, center, and bottom). Tie a secure knot at the center hole.
Step 5: Trim and Round the Edges (Optional)
If you want a polished look, use scissors to round the corners. This step is optional but adds a professional touch to your Cahier notebook.
Step 6: Decorate the Cover
Now for the fun part! Personalize your notebook with washi tape, stamps, or hand-drawn designs. You can write a title on the front or leave it minimalist for a sleek appearance.
Tips for Customizing Your DIY Cahier Notebooks
- Choose Unique Papers: Use recycled paper, grid paper, or specialty paper to make your notebook stand out.
- Experiment with Sizes: Try making mini notebooks for quick notes or larger ones for sketching.
- Add Pockets: Glue an envelope or fold paper inside the back cover to create a handy storage pocket.
- Include Extras: Attach a ribbon bookmark or elastic band to keep the notebook secure.
Uses for DIY Cahier Notebooks

- Journals: Capture your daily thoughts, ideas, or plans.
- Sketchbooks: Use thicker paper for drawing or painting.
- Planners: Create a personalized planner to suit your schedule.
- Gifts: Handmade Cahier notebooks make thoughtful, creative presents.
Conclusion
Making your own DIY Cahier notebooks is a satisfying and practical craft. Whether you need them for yourself or as gifts, these notebooks are easy to make and offer endless possibilities for customization. By following these simple steps, you’ll have beautiful, personalized notebooks that reflect your creativity and style.
FAQs
What paper works best for DIY Cahier notebooks?
You can use any type of paper, but choose based on your purpose. Use blank paper for sketching, lined paper for notes, or specialty paper for specific uses like watercolor painting.
Can I make Cahier notebooks without special tools?
Yes! A stapler, scissors, and regular paper can suffice for a basic version. More tools just help refine the final look.
How many pages should a Cahier notebook have?
Typically, 10-20 sheets folded in half (creating 20-40 pages) work well. Adjust based on your preferences.
How durable are DIY Cahier notebooks?
They’re fairly durable for everyday use, especially with a sturdy cover. For extra durability, laminate the cover or use heavier paper.
Can I sell handmade Cahier notebooks?
Absolutely! Many crafters sell their DIY notebooks at fairs or online marketplaces. Just ensure your designs are unique and appealing to your target audience.

How Industrial LED Strip Light Suppliers Support Heavy-Duty Projects

Valxye Meaning, Usage, and Online Presence

Torssfa: Meaning, Usage, and Online Presence

Mymangareading: Meaning, Usage, and Online Presence

Mangu.ddns: Meaning, Usage, and Online Presence

IDPimp: Meaning, Usage, and Online Presence

Goldplaypot.com: Meaning, Usage, and Online Presence

Brokensilense: Meaning, Usage, and Online Presence

Meaningful Birthstone Rings and Timeless Pearl Rings from IverJewelry
Glitter Bomb THCa Flower: A Deep Dive Into One of the Triangle’s Most Loved Strains

Comprehensive Financial Retirement Planning for Seniors

apicychat Guide to Meaningful AI Conversations

Wedding: A Celebration of Love, Commitment, and New Beginnings

Skmpcity Platform Overview for Practical User Insight

Zoix18 Explained: Meaning, Uses, and Real Value

Techitl Explained: Meaning, Purpose, and Digital Relevance

dikganes Explained: Meaning, Usage, and Digital Significance

Jememintre: Meaning, Uses, and Real-World Relevance

spabkbabg Explained: Meaning, Context, and Use

Torssfa Info Explained: Meaning, Use, and Online Relevance
How Industrial LED Strip Light Suppliers Support Heavy-Duty Projects
Valxye Meaning, Usage, and Online Presence
Torssfa: Meaning, Usage, and Online Presence

How to Use a Temporary Number for WhatsApp

Sepatuindonesia.com | Best Online Store in Indonesia

The Best Methods to Download TikTok Videos Using SnapTik
-
 Tech1 year ago
How to Use a Temporary Number for WhatsApp
-
 Business2 years ago
Sepatuindonesia.com | Best Online Store in Indonesia
-
 Social Media2 years ago
The Best Methods to Download TikTok Videos Using SnapTik
-

 Technology2 years ago
Top High Paying Affiliate Programs
-

 Tech12 months ago
Understanding thejavasea.me Leaks Aio-TLP: A Comprehensive Guide
-

 FOOD1 year ago
How to Identify Pure Desi Ghee? Ultimate Guidelines for Purchasing Authentic Ghee Online
-
 Instagram3 years ago
Free Instagram Auto Follower Without Login
-
 Instagram3 years ago
Free Instagram Follower Without Login